Laravel で Web システムを開発する
仮想開発環境が構築できたので,Laravel による Web システムの開発を行ってみよう.
ここでの内容は別の Laravel入門ページ とほぼ同様ですが,ゼミサーバを使う場合と仮想開発環境を使う場合で若干やり方が異なるので注意してください.
プロジェクトの作成
PuTTYを使って仮想マシンにログインした後,ディレクトリを移動します.なお,GitHub からダウンロードしたスクリプトでインストールした場合は,Laravel のコンポーザが 「/home/vagrant/Documents/laravel/」にインストールされているので,この中にプロジェクトを作成します.
C:\Users\Rinsaka\MyVagrant\MyCentOS>vagrant ssh ⏎ #
Last login: Wed Mar 24 16:09:12 2021 from 10.0.2.2
[vagrant@localhost ~]$ pwd ⏎ #
/home/vagrant
[vagrant@localhost ~]$ ls ⏎
centos7ansible-master  Documents
[vagrant@localhost ~]$ cd Documents/ ⏎
[vagrant@localhost Documents]$ ls ⏎
laravel
[vagrant@localhost Documents]$ cd laravel/ ⏎
[vagrant@localhost laravel]$ ls ⏎
composer.phar
[vagrant@localhost laravel]$ pwd ⏎
/home/vagrant/Documents/laravel
[vagrant@localhost laravel]$
myapp という名前(何でもよい)のプロジェクトを作成します.
[vagrant@localhost laravel]$ ls ⏎
composer.phar
[vagrant@localhost laravel]$ php composer.phar create-project --prefer-dist laravel/laravel myapp ⏎ #
Creating a "laravel/laravel" project at "./myapp"
Installing laravel/laravel (v5.8.35)
  - Downloading laravel/laravel (v5.8.35)
  - Installing laravel/laravel (v5.8.35): Extracting archive
Created project in /home/vagrant/Documents/laravel/myapp
> @php -r "file_exists('.env') || copy('.env.example', '.env');"
Loading composer repositories with package information

(中略)

Discovered Package: nesbot/carbon
Discovered Package: nunomaduro/collision
Package manifest generated successfully.
49 packages you are using are looking for funding.
Use the `composer fund` command to find out more!
> @php artisan key:generate --ansi
Application key set successfully.
[vagrant@localhost laravel]$
データベースの作成
データベースに SQLite を利用する場合は,空のデータベースファイルを作成します.
[vagrant@localhost laravel]$ cd myapp/ ⏎
[vagrant@localhost myapp]$ ls ⏎
app      bootstrap      composer.lock  database      phpunit.xml  readme.md  routes      storage  vendor
artisan  composer.json  config         package.json  public       resources  server.php  tests    webpack.mix.js
[vagrant@localhost myapp]$ touch database/database.sqlite ⏎ #
[vagrant@localhost myapp]$
MySQL や MariaDB を使う場合は,データベースとユーザを作成します.具体的には,(1) 管理者 (root) でログインする,(2) myappDB という名前のデータベースを作成する,(3) ユーザ myapp_user を作成し,データベース myappDB に対する権限を付与するとともに,ユーザのパスワードを「hogehogehoge」にする,という手順を行います.
[vagrant@localhost laravel]$ mysql -u root -p ⏎ # (1) 管理者 (root) でログインする
Enter password:
Welcome to the MariaDB monitor.  Commands end with ; or \g.
Your MariaDB connection id is 24
Server version: 10.4.17-MariaDB MariaDB Server

Copyright (c) 2000, 2018, Oracle, MariaDB Corporation Ab and others.

Type 'help;' or '\h' for help. Type '\c' to clear the current input statement.

MariaDB [(none)]> CREATE DATABASE myappDB; ⏎ # (2) データベースを作成する
Query OK, 1 row affected (0.000 sec)

MariaDB [(none)]> GRANT ALL ON myappDB.* to myapp_user@localhost identified by 'hogehogehoge'; ⏎ # (3) ユーザを作成
Query OK, 0 rows affected (0.001 sec)

MariaDB [(none)]> EXIT ⏎ # (4) ログアウト
Bye
[vagrant@localhost laravel]$
プロジェクトの初期設定
ここから仮想マシン(仮想サーバ)内のファイルを編集します.これには Cyberduck で編集したいファイルをダブルクリックします.設定ができていれば,Visual Studio Code でそのファイルが開かれるので,編集して上書き保存すれば,Cyberduck が自動的に仮想サーバにアップロードします.
例えば,readme.md ファイルを編集してみよう.Cyberduck を使って仮想サーバに接続します.接続できれば,プロジェクトのフォルダ「/home/vagrant/Documents/laravel/myapp」に移動し,「readme.md」をダブルクリックします.
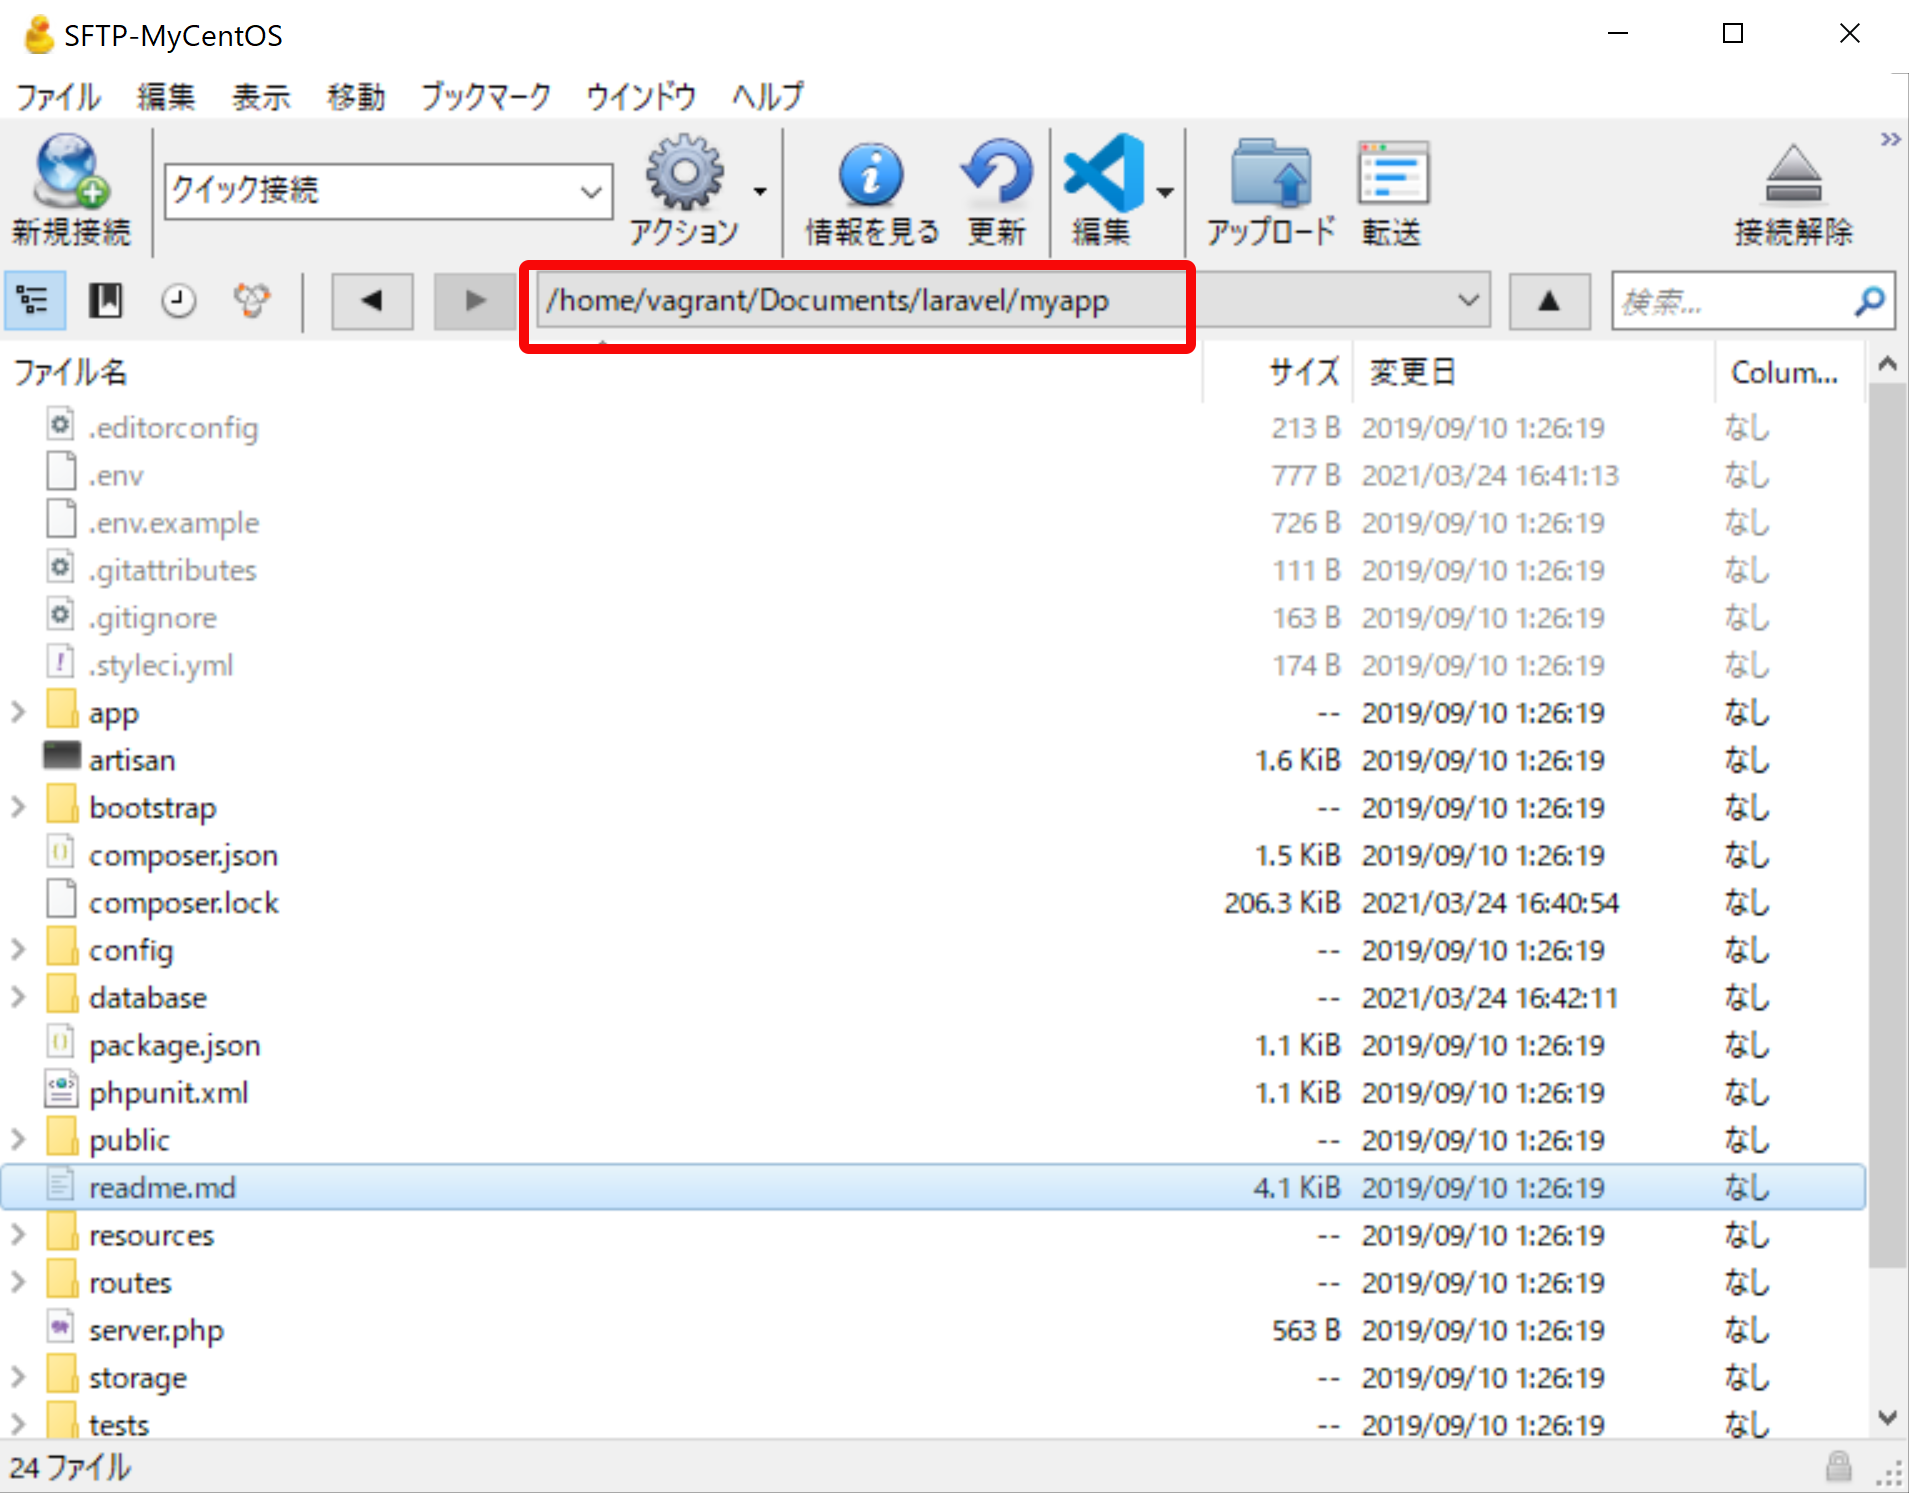
すると,Visual Studio Code が起動して,readme.md ファイルが開かれた.編集後,上書き保存すれば,仮想サーバにアップロードされます.

次は実際にプロジェクトの設定を記述する.同様の手順で .env ファイルを編集する.データベースに SQLite を使う場合は 9行目あたりにある DB_CONNECTION を sqlite に変更し,DB_HOST, DB_PORT, DB_DATABASE, DB_USERNAME, DB_PASSWORD の行を削除するか,先頭に # を付けてコメントアウトする.
.env (抜粋)
DB_CONNECTION=sqlite
# DB_HOST=127.0.0.1
# DB_PORT=3306
# DB_DATABASE=laravel
# DB_USERNAME=root
# DB_PASSWORD=
データベースに MySQL (MariaSQL) を使う場合は上で作成した情報を設定する.
.env (抜粋)
DB_CONNECTION=mysql
DB_HOST=127.0.0.1
DB_PORT=3306
DB_DATABASE=myappDB
DB_USERNAME=myapp_user
DB_PASSWORD=hogehogehoge
タイムゾーンと言語の設定
プロジェクトの設定ファイル config/app.php を編集し,タイムゾーンを Asia/Tokyo に,言語を ja に変更する.
config/app.php (抜粋)
    /*
    |--------------------------------------------------------------------------
    | Application Timezone
    |--------------------------------------------------------------------------
    |
    | Here you may specify the default timezone for your application, which
    | will be used by the PHP date and date-time functions. We have gone
    | ahead and set this to a sensible default for you out of the box.
    |
    */

    'timezone' => 'Asia/Tokyo',

    /*
    |--------------------------------------------------------------------------
    | Application Locale Configuration
    |--------------------------------------------------------------------------
    |
    | The application locale determines the default locale that will be used
    | by the translation service provider. You are free to set this value
    | to any of the locales which will be supported by the application.
    |
    */

    'locale' => 'ja',
Webサーバの起動と終了
Webサーバを起動して,Webブラウザからプロジェクトのトップページにアクセスする.このとき,ポート番号は 8000 を指定する.ゼミサーバを利用する場合は他の学生と重複しない番号を使う必要があるが,仮想開発環境では特に気にする必要はない.
[vagrant@localhost myapp]$ php artisan serve --host=192.168.33.110 --port 8000 ⏎ #
Laravel development server started: <http://192.168.33.110:8000>
[Wed Mar 24 16:48:54 2021] 192.168.33.1:53501 [200]: /favicon.ico
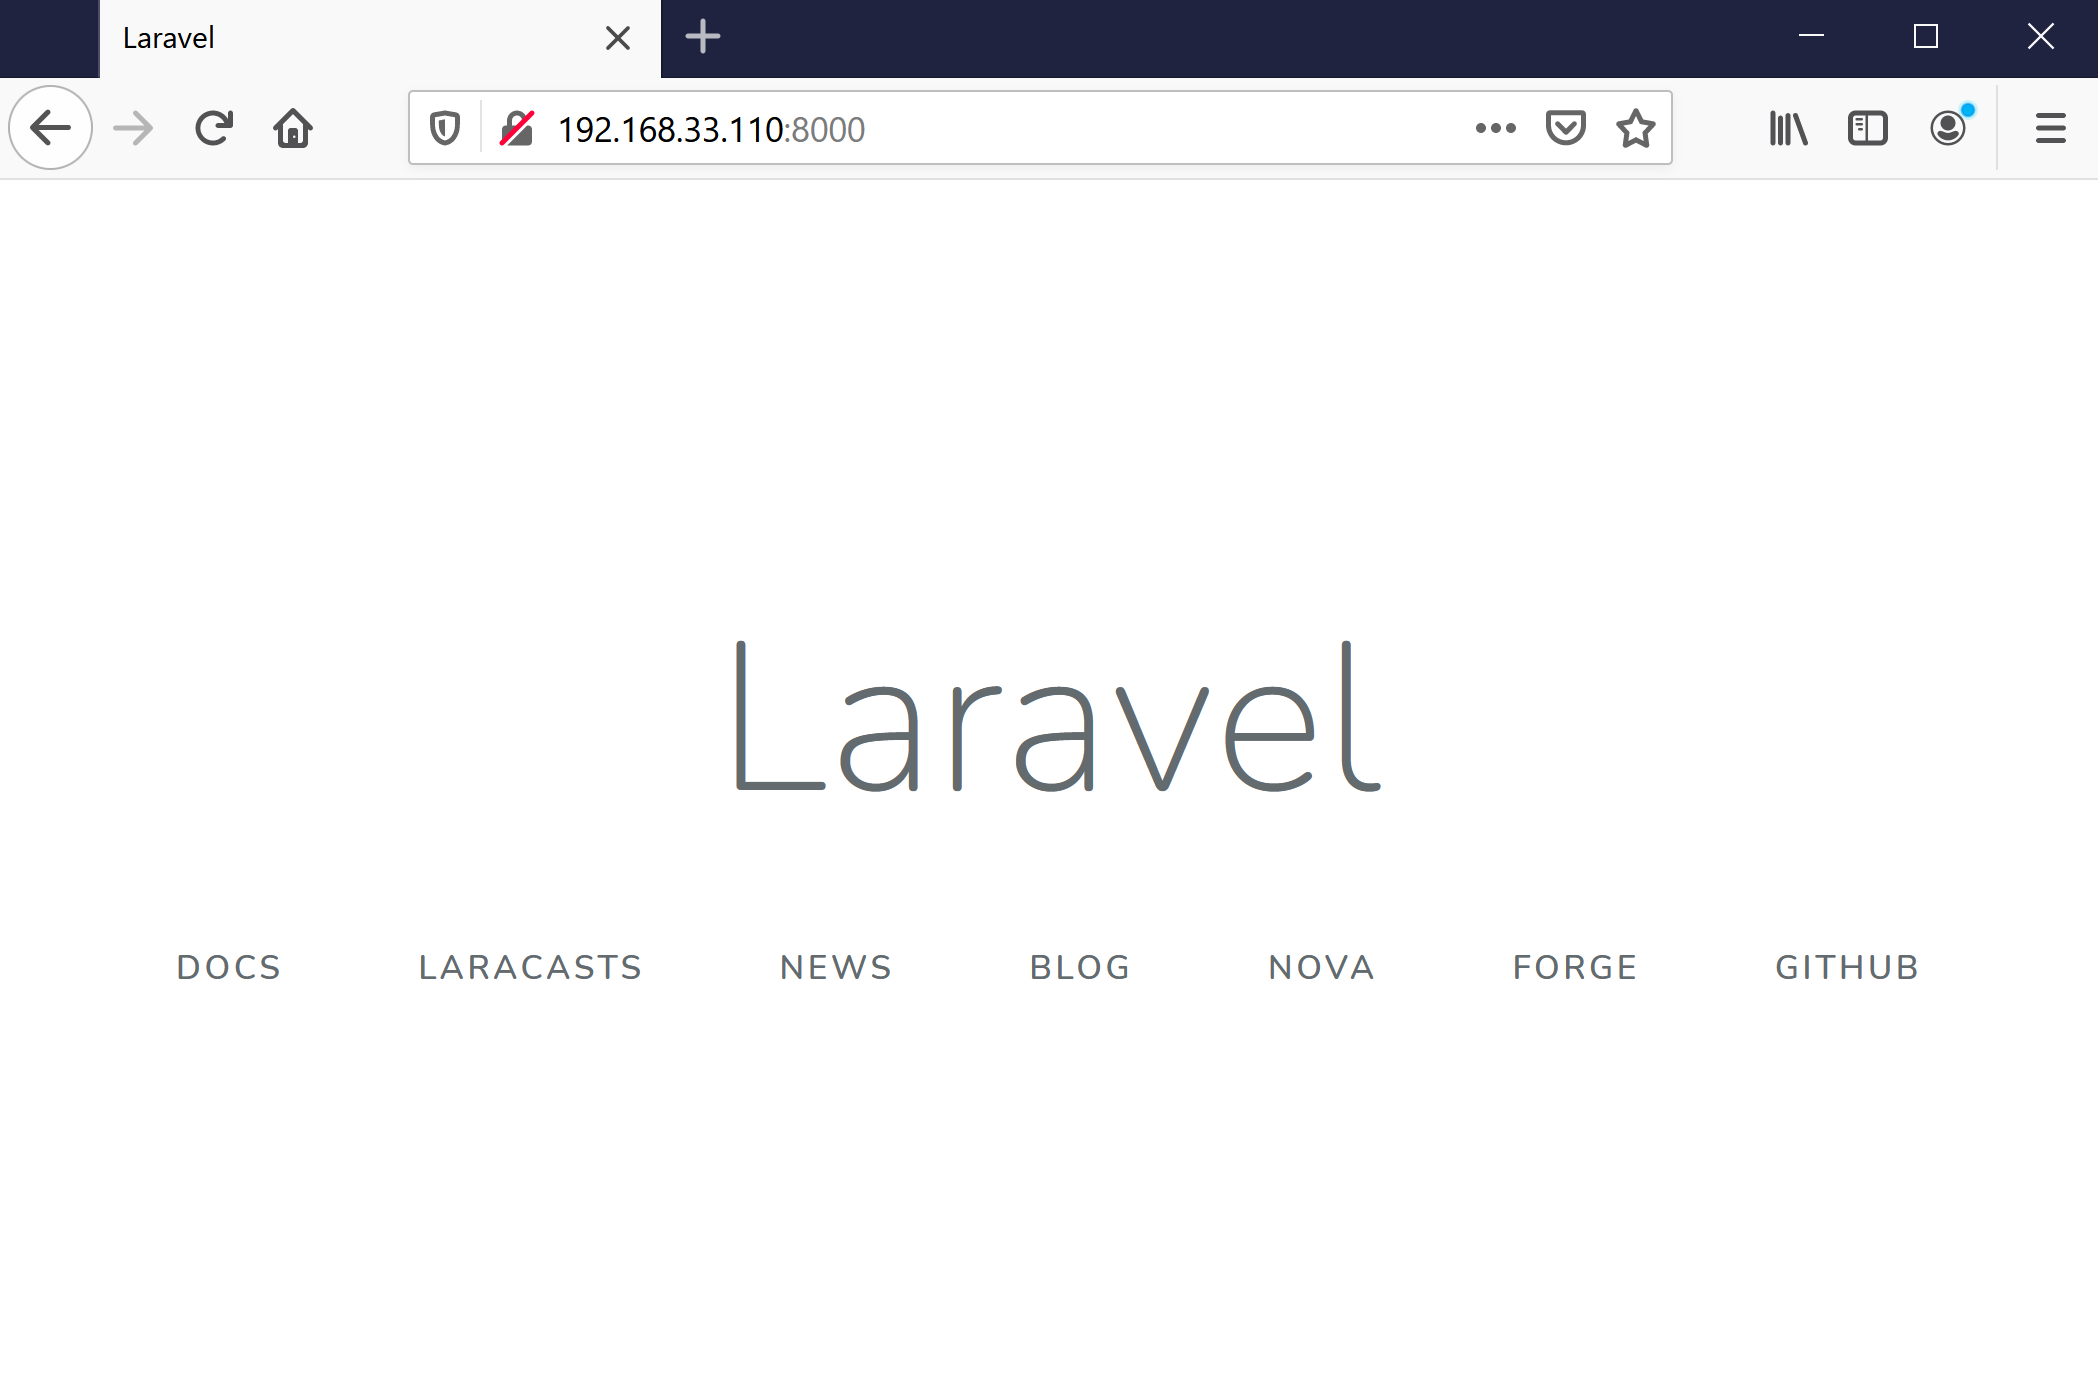
Webブラウザのアドレスバーにhttp://192.168.33.110:8000 を入力すれば,次のような画面が出るはず.
Webサーバを停止するにはCtrl + C を押す.
[vagrant@localhost myapp]$ php artisan serve --host=192.168.33.110 --port 8000 ⏎
Laravel development server started: <http://192.168.33.110:8000>
[Wed Mar 24 16:48:54 2021] 192.168.33.1:53501 [200]: /favicon.ico
^C #
[vagrant@localhost myapp]$
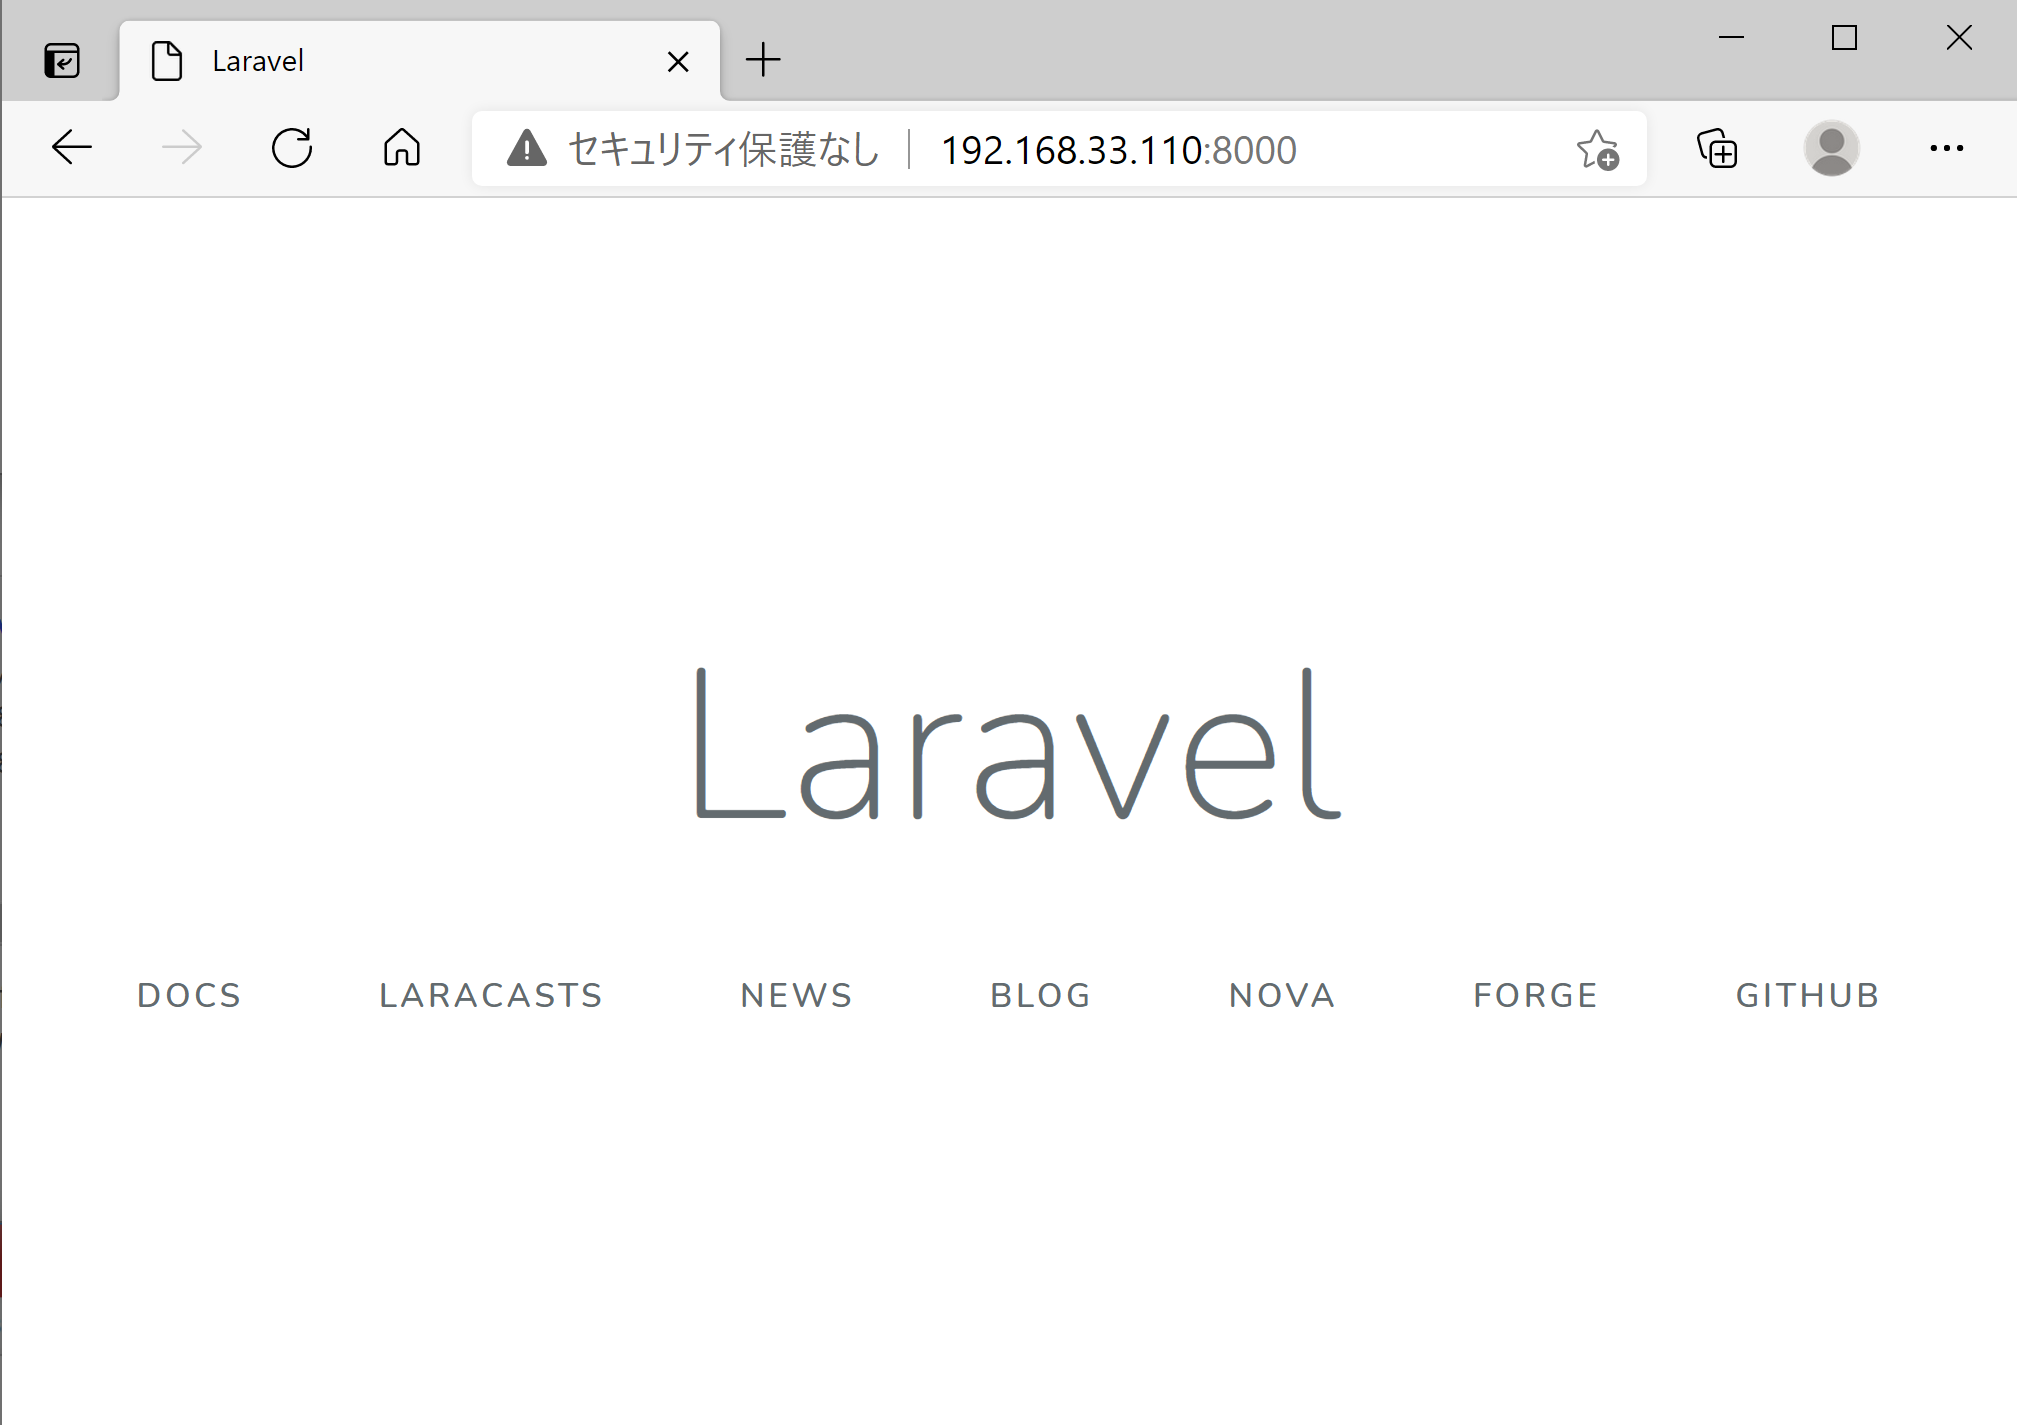
なお,過去の Windows 10 に標準搭載される レガシー版の Edge では開くことができない可能性がある.Chromium 版 Edge であれば,動作するはずである.Google Chrome や Firefox でも問題なく動作するはずである.
Google Chrome の場合:
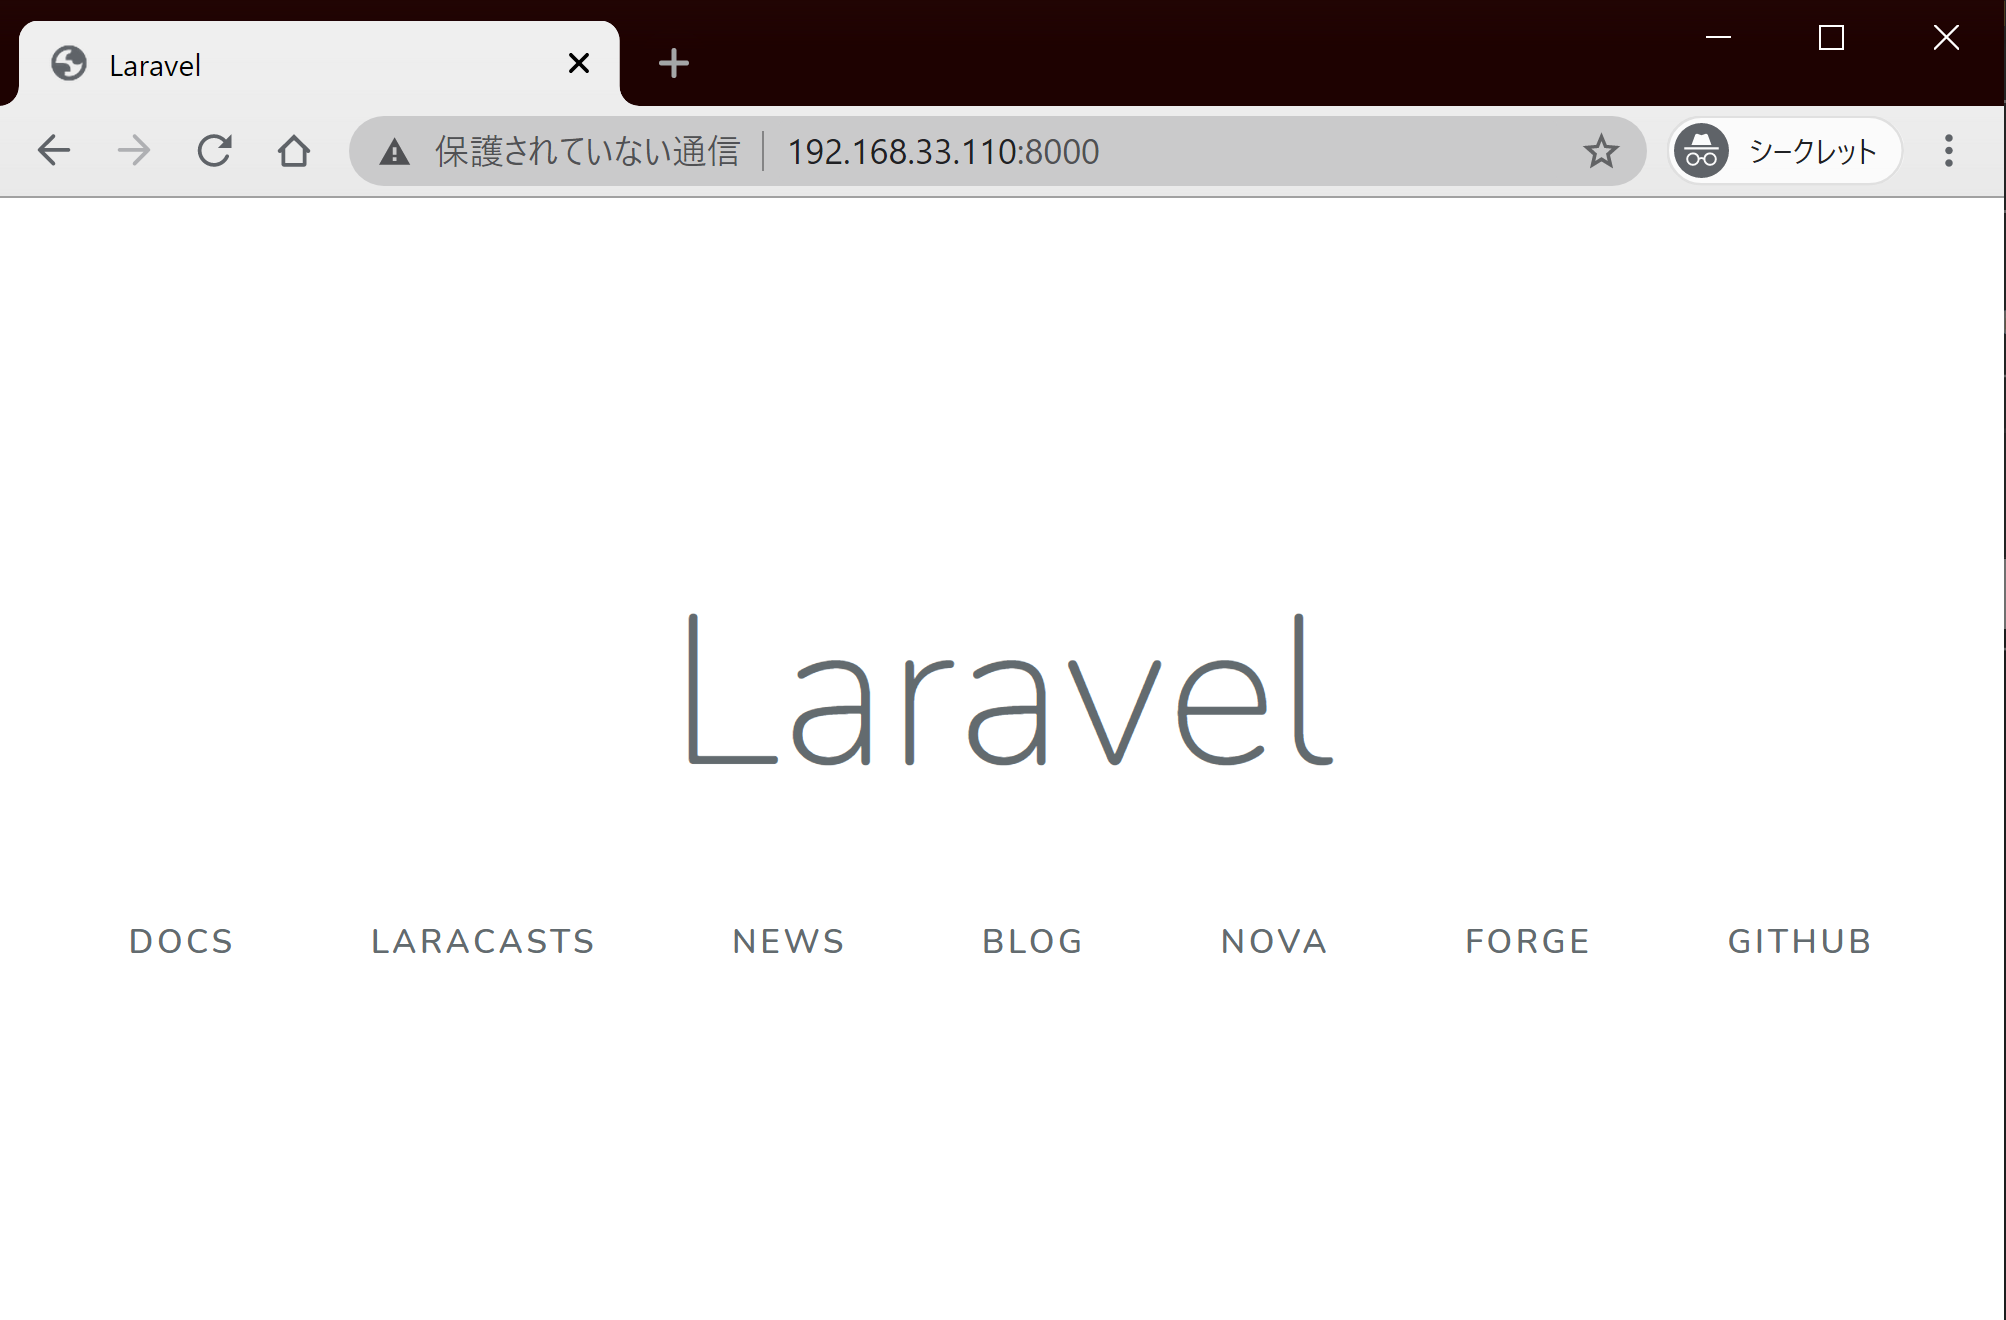
Firefox の場合: